Mounting A Wall Mounted Ballet Barre
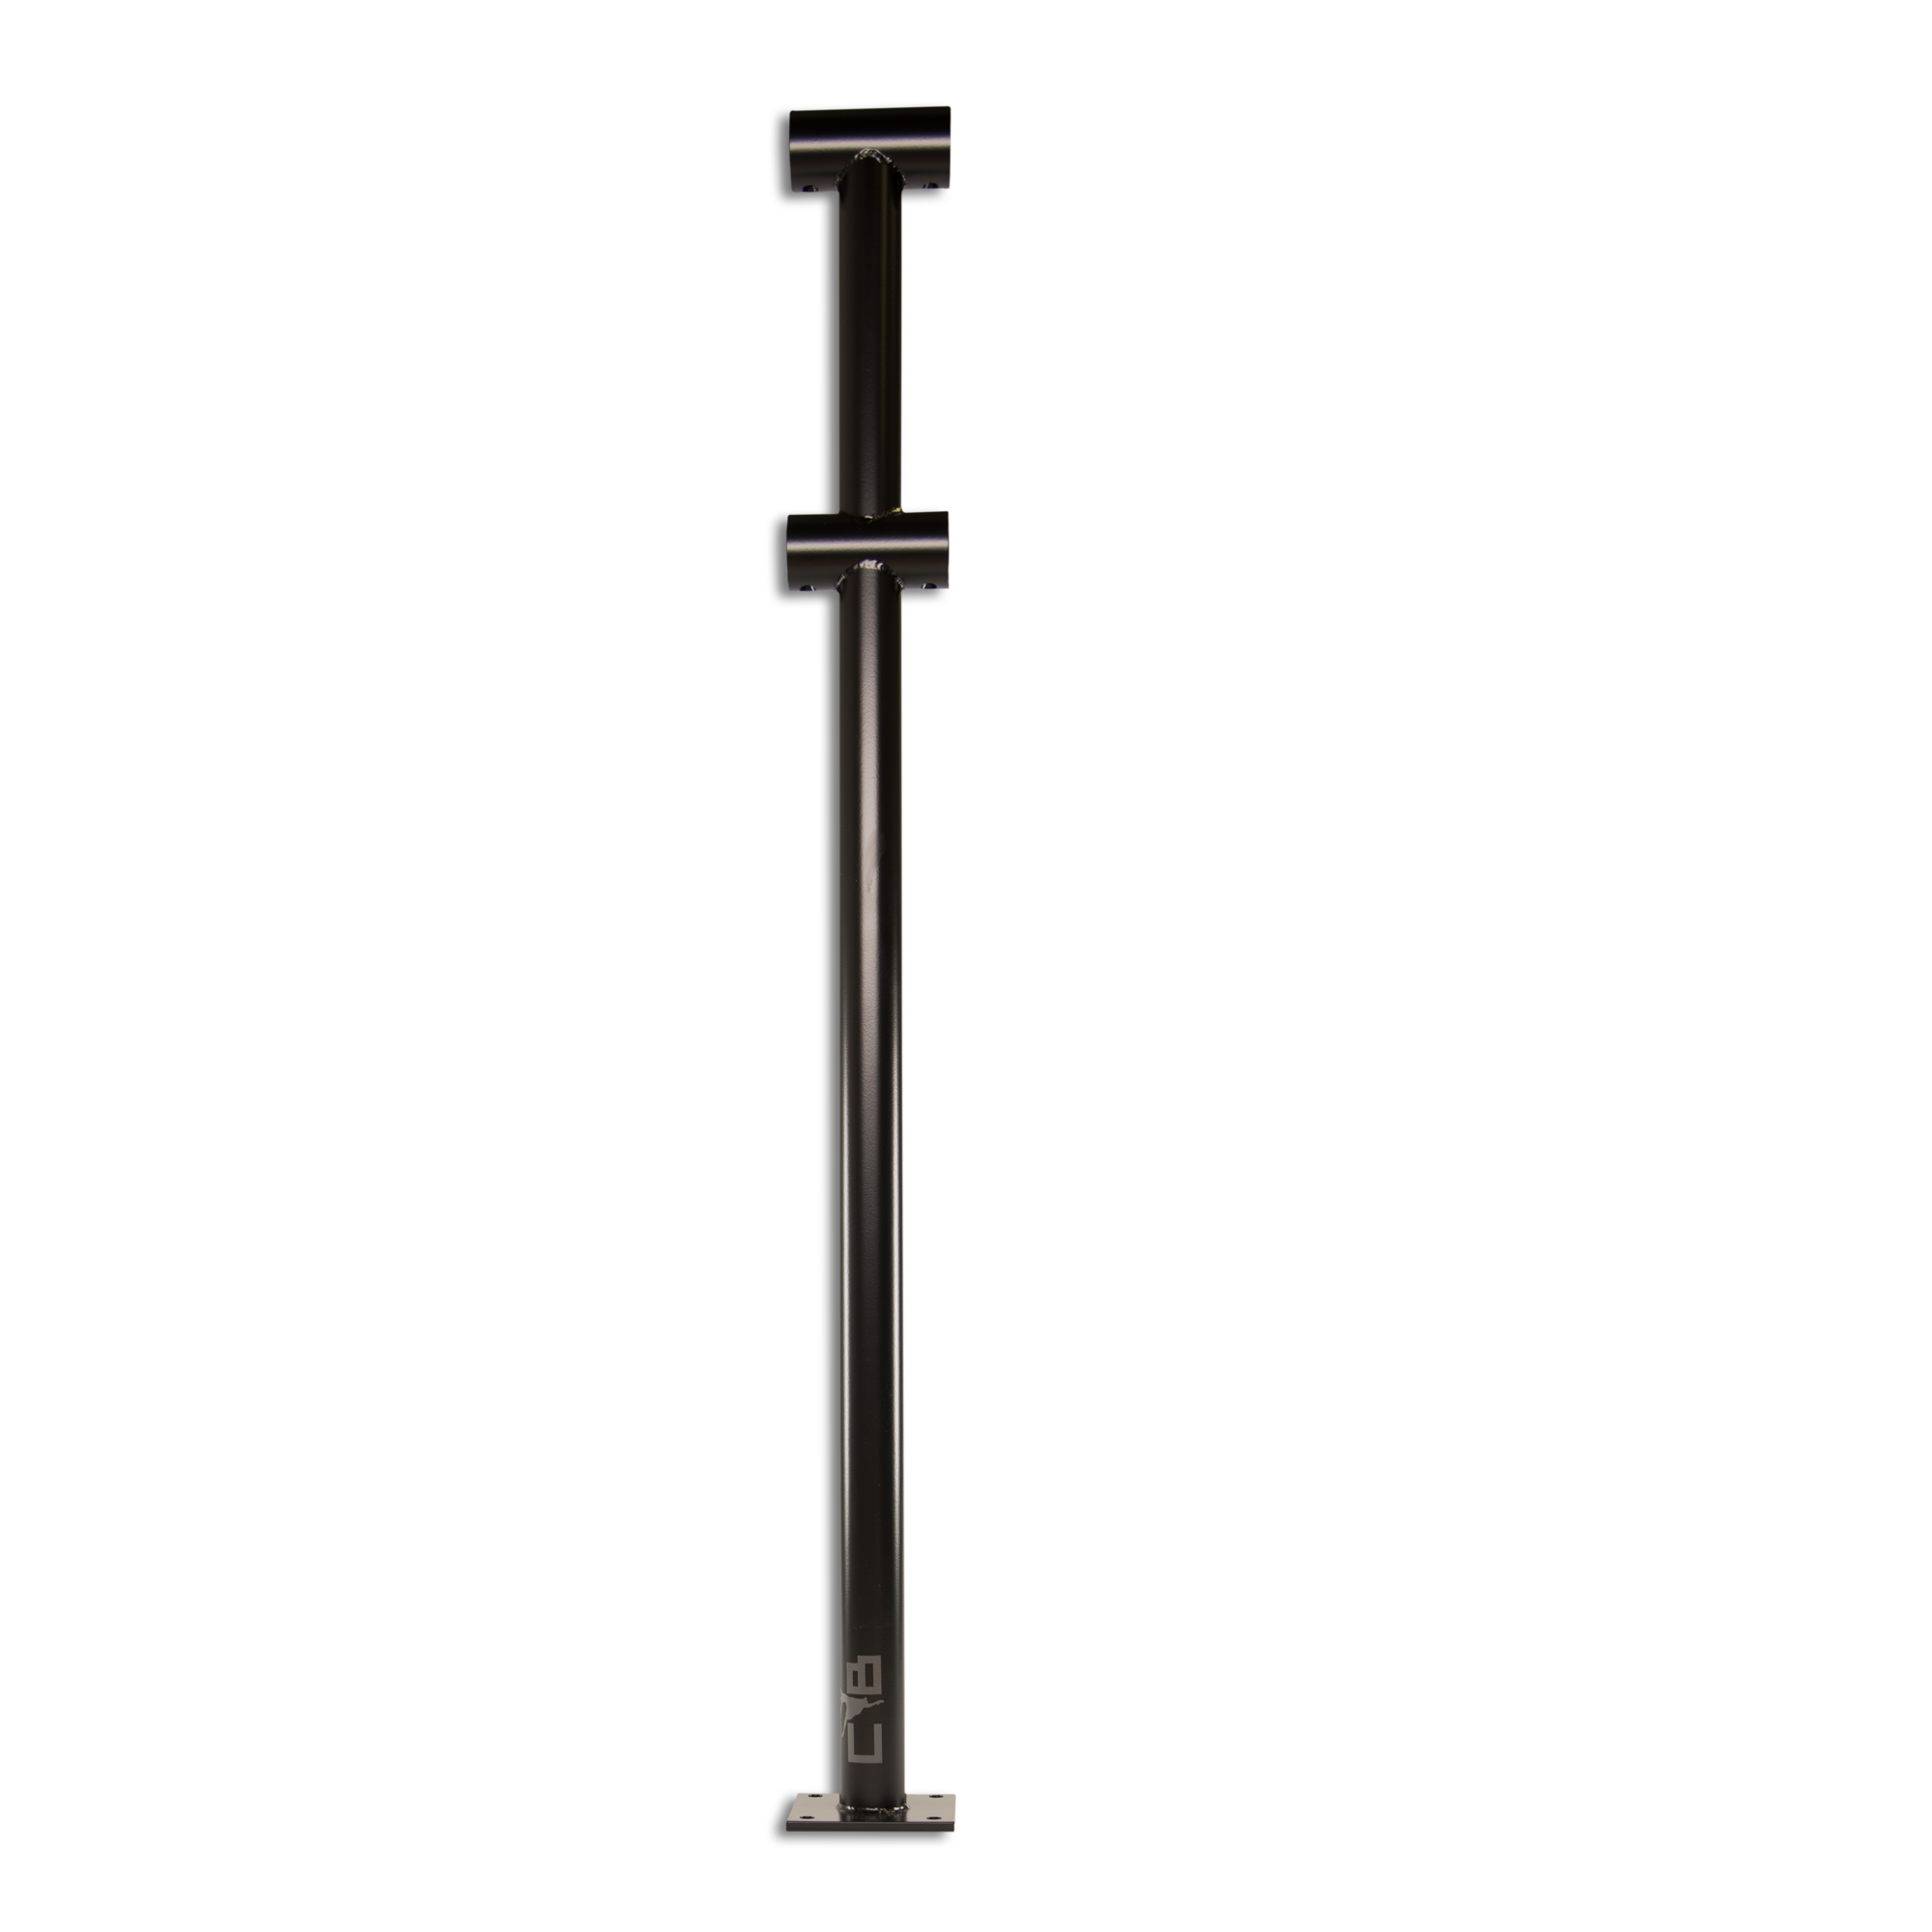
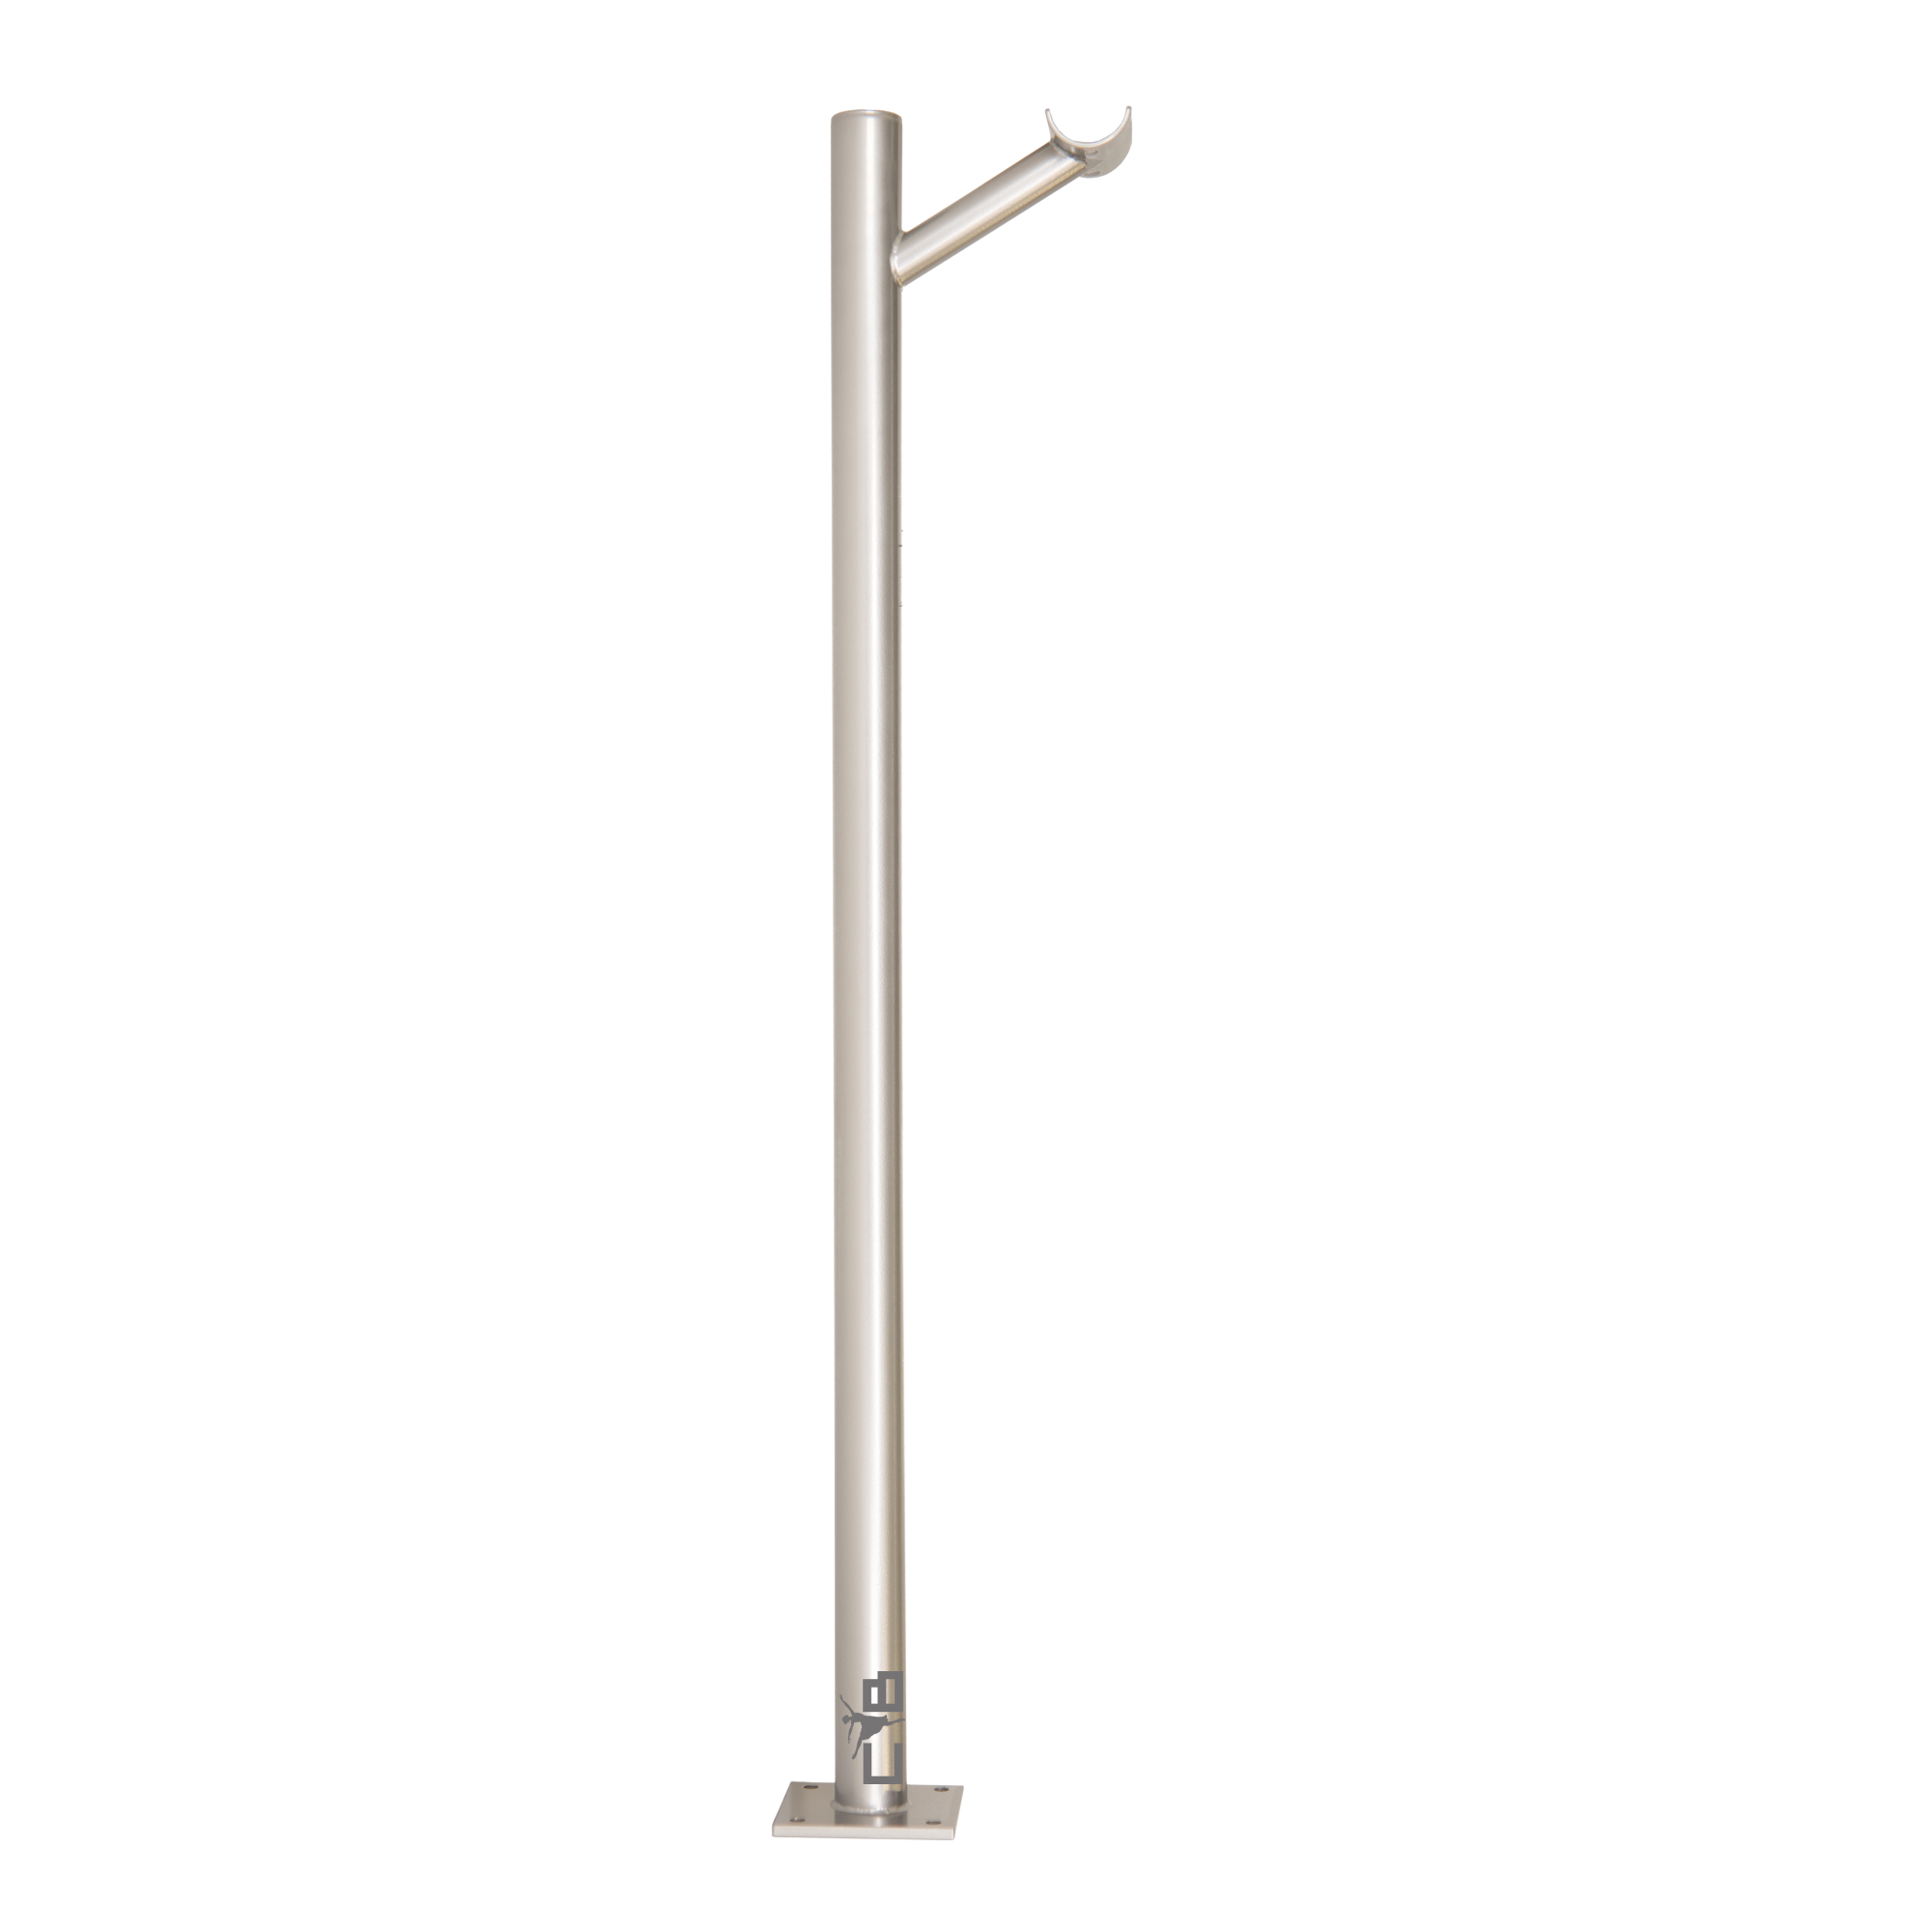
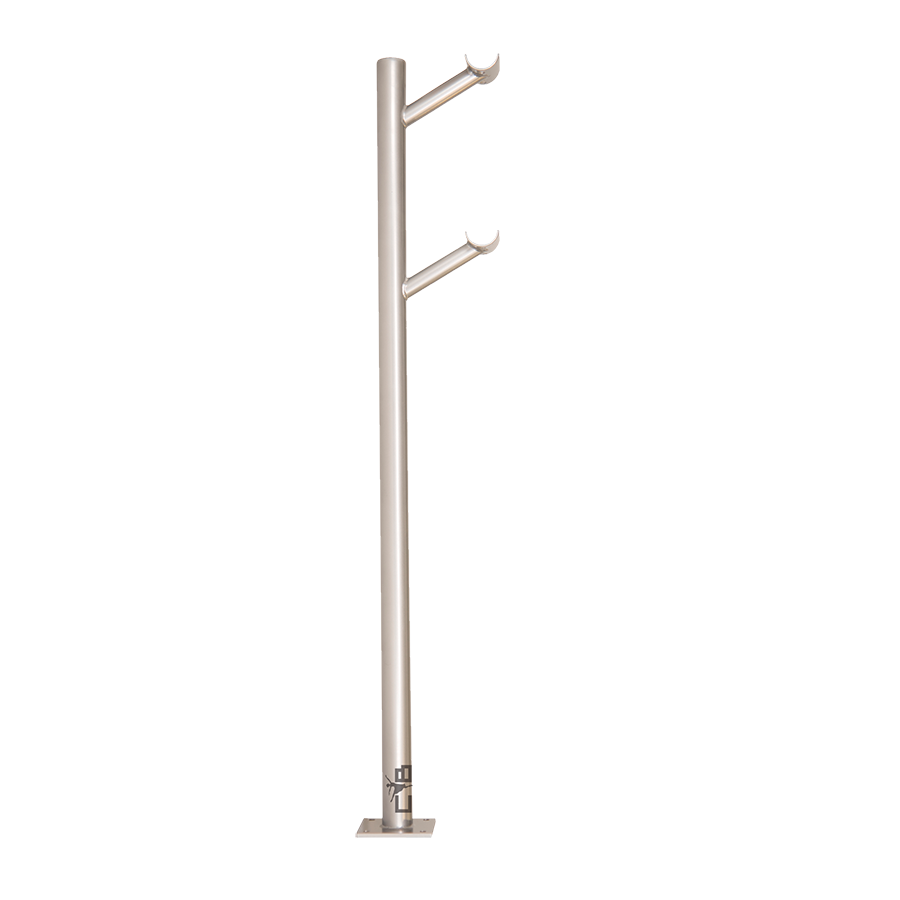
A wall mounted Barre will need sound enough support to carry it’s own weight and that of someone leaning on or pulling against it when it is being used. Custom Barres suggests bracket spacing of 32"-48” between brackets for Fitness and 48”-64" for Ballet. Follow spacing guidelines for fitness if barre will be used for anything other than Ballet, such as Barre Fitness, Barre Method or any other barre type exercises, for extra stability, safety and support. The closer the brackets together the stronger the barre will be.
Custom Barres highly recommends using a professional reputable licenced contractor for installtion to ensure proper installation and safety for all users.
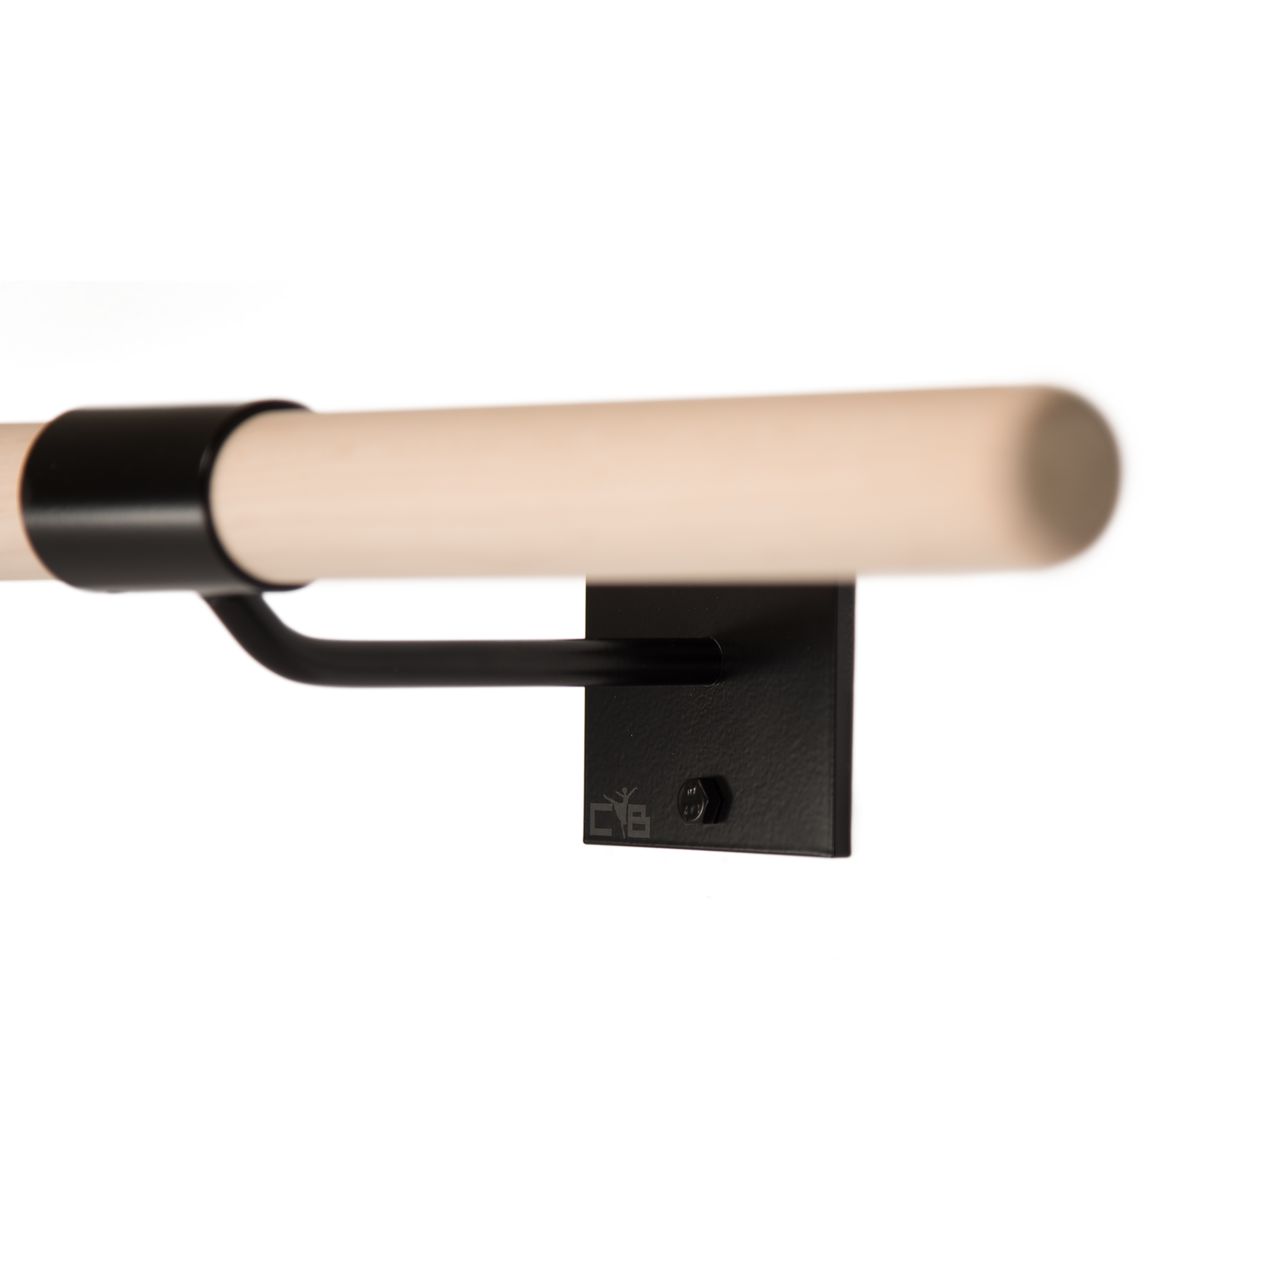
Brackets must be connected into a solid surface. Ideal installtion is installing into wood studs. Use a stud finder to make sure studs are located in the correct locations where you will need to install the brackets, so bracket spacing meets manufacturer guidelines. Mark the centerlines of the studs. Measure the height from the floor to center of bracket saddle. Secure brackets to wall using lag bolts provided. Special installation circumstances may require special hardware (not included). If studs are not located in the right locations, you will have to install a backboard support.
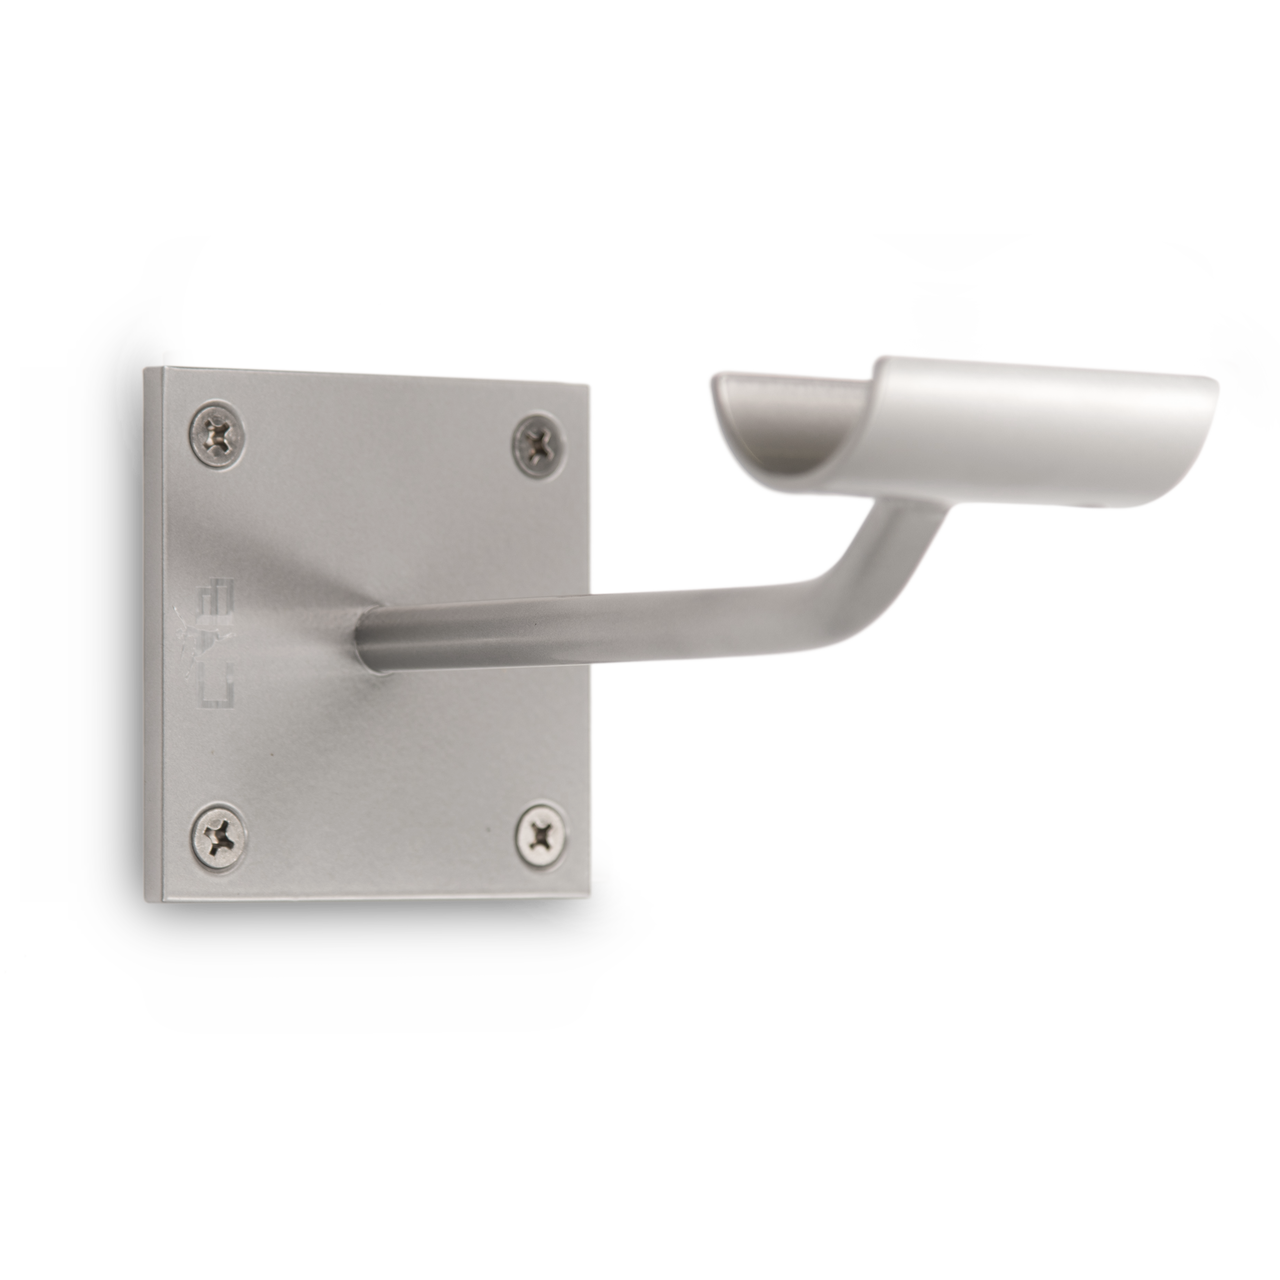
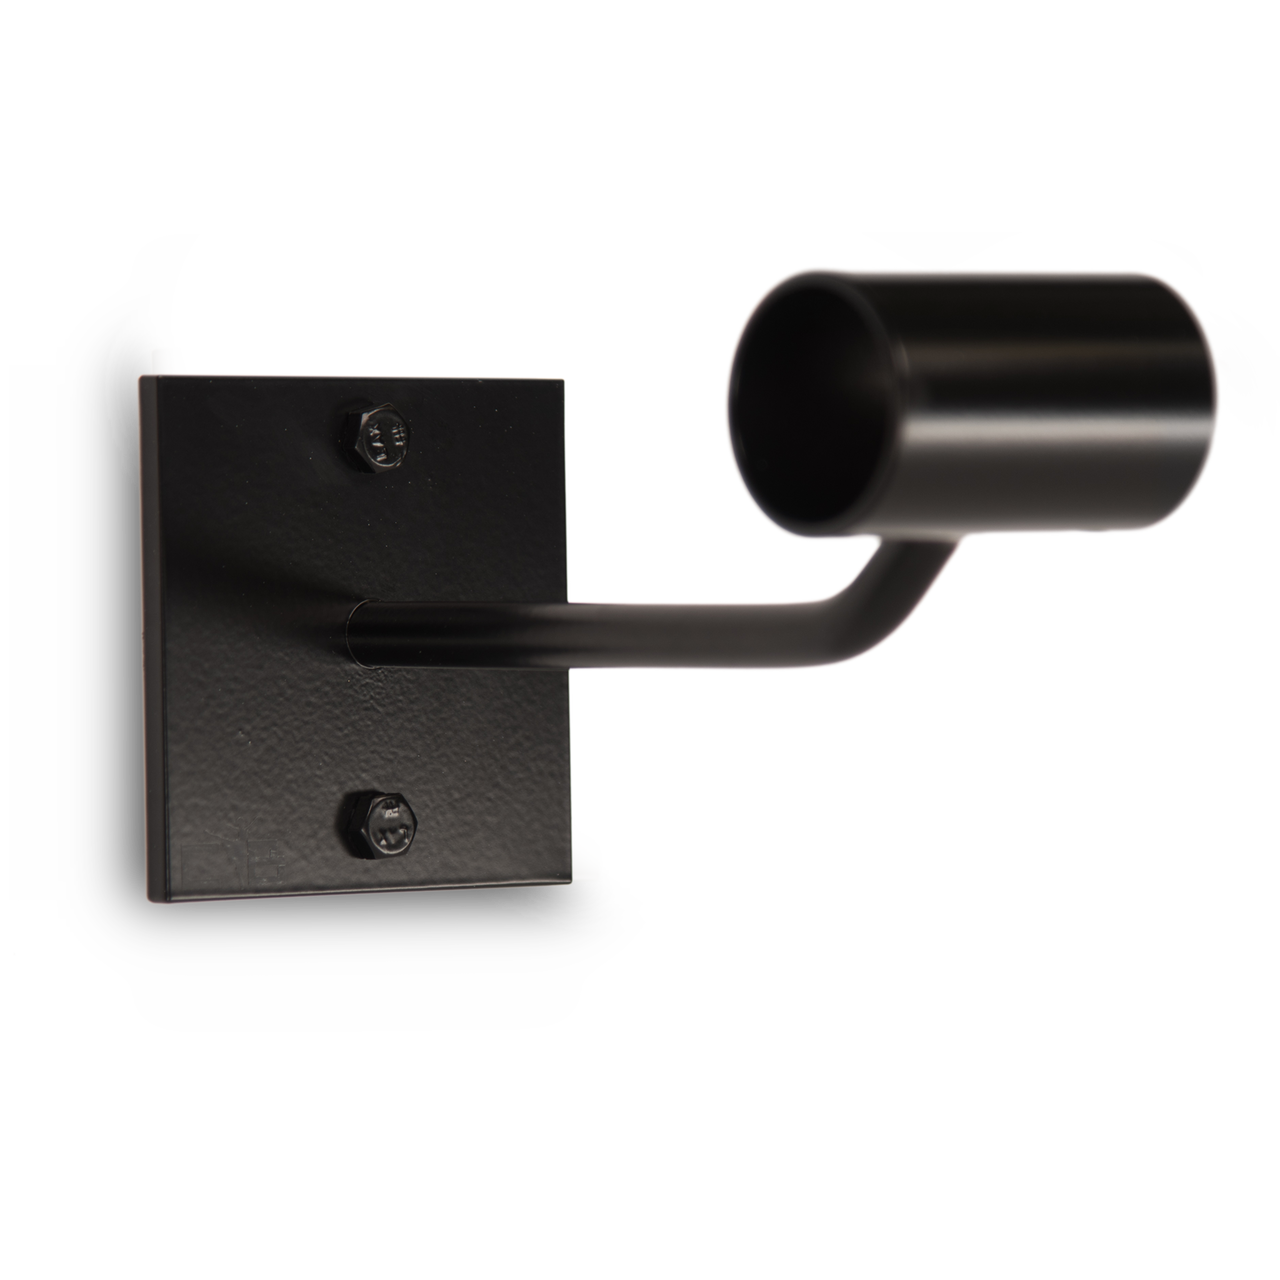
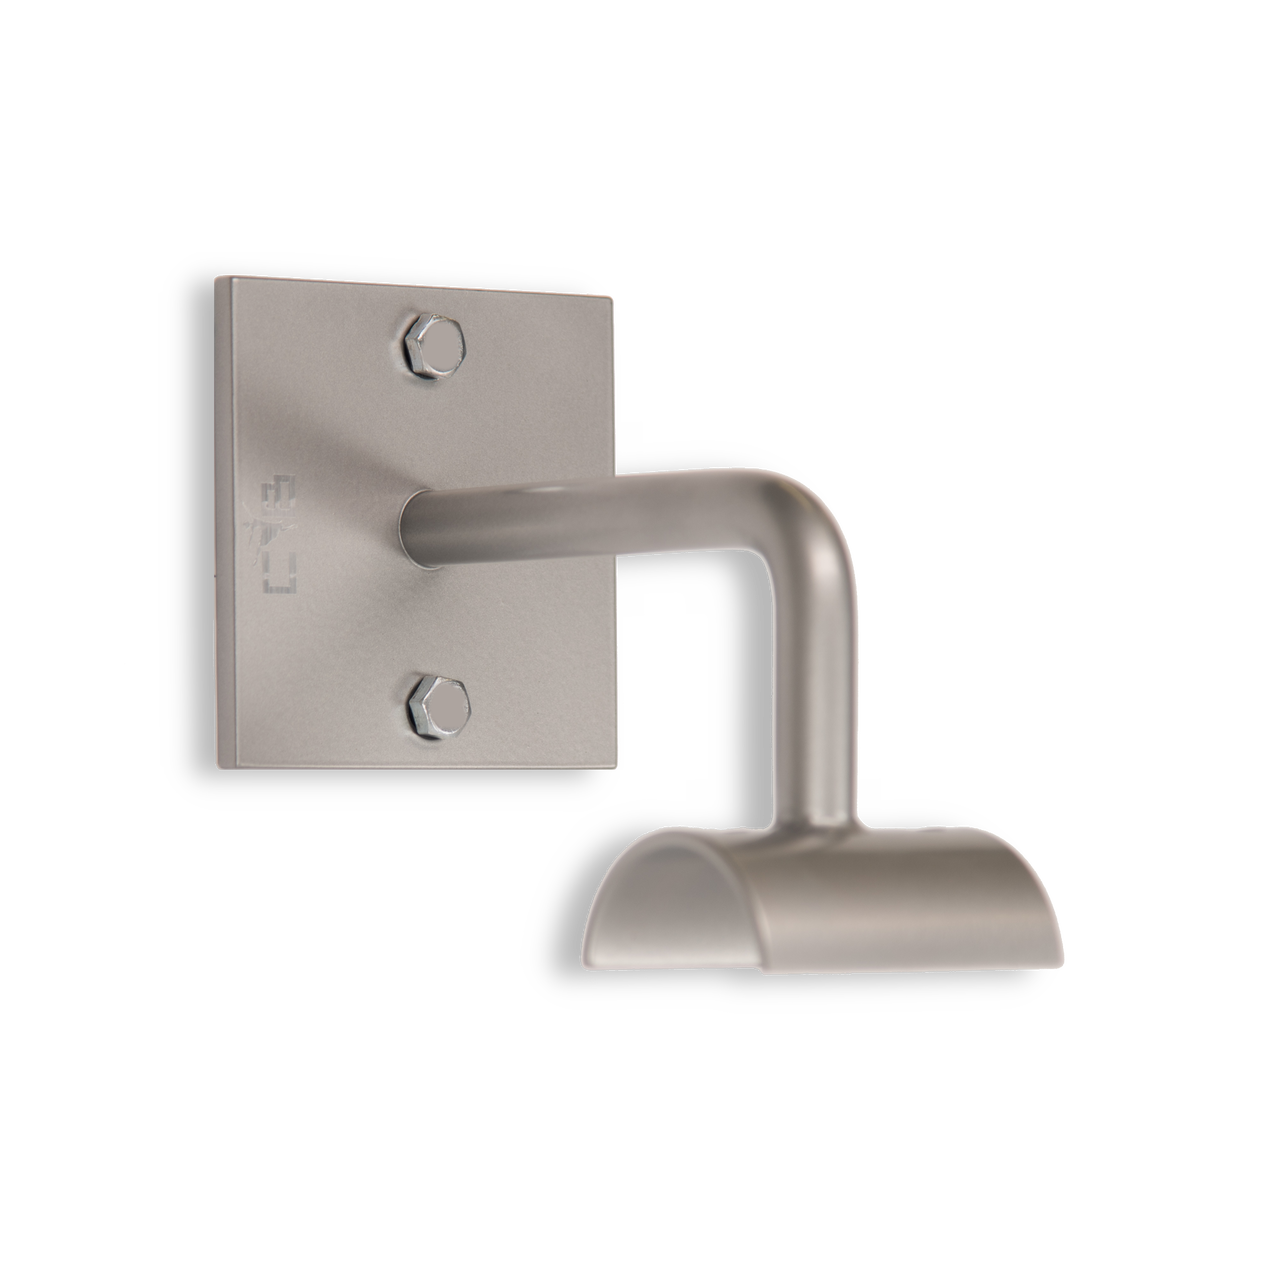
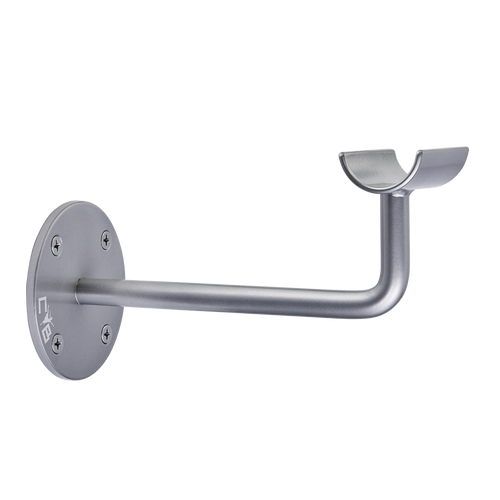
Important: If purchasing our small wall brackets for Wall Stud installation make sure to choose 2 hole brackets and not 4!
Custom Barres highly recommends using a professional reputable licenced contractor for installtion to ensure proper installation and safety for all users.
A backboard support can be installed inside the wall using plywood (minimum thickness of 3/4") mounting it to fit between the studs, or as a decorative solid hardwood board (minimum thickness of 3/4") to be installed ontop of the sheetrock. For inside wall installation, screw the nailing strips to the inside faces of the studs. Set back from the front edges by the thickness of the plywood. Cut the panel to size, than nail so it is flush with the edges of the studs. Install the wall finish to the side of the wall that will carry the barre. Fasten the brackets through the wall covering and into the plywood block using the wood screws provided. The advantage of this type of installation allows you to distance the brackets in any desired space according to the suggested spacing without being confined only to the stud location.
Important: If purchasing our small wall brackets for backboard support installation choose 4 hole brackets.
Please be advised that Custom Barres brackets are not meant for Mirror installation.
It is not always possible to arrange studs as needed for mounting the barres on the wall. If there are no studs where you want them, you will have to purchase heavy duty toggle bolts wall fasteners instead (available for purchase online - https://www.custombarres.com/toggle-bolts/) or any local hardware store. If purchased elsewhere please make sure to choose type of fasteners that will adequately support the barres.
